- Go to the Google Loteria page. https://doodles.google/doodle/celebrating-loteria/
- Click on the "Play" button.
- Choose to play a private match with friends or a random match with other players.
- Receive your LoterĂa board.
- The caller will start drawing cards and announcing the names of the images.
- If you have the matching image on your board, place a marker on it.
- The first player to cover all of the images on their board in a pre-determined pattern wins!
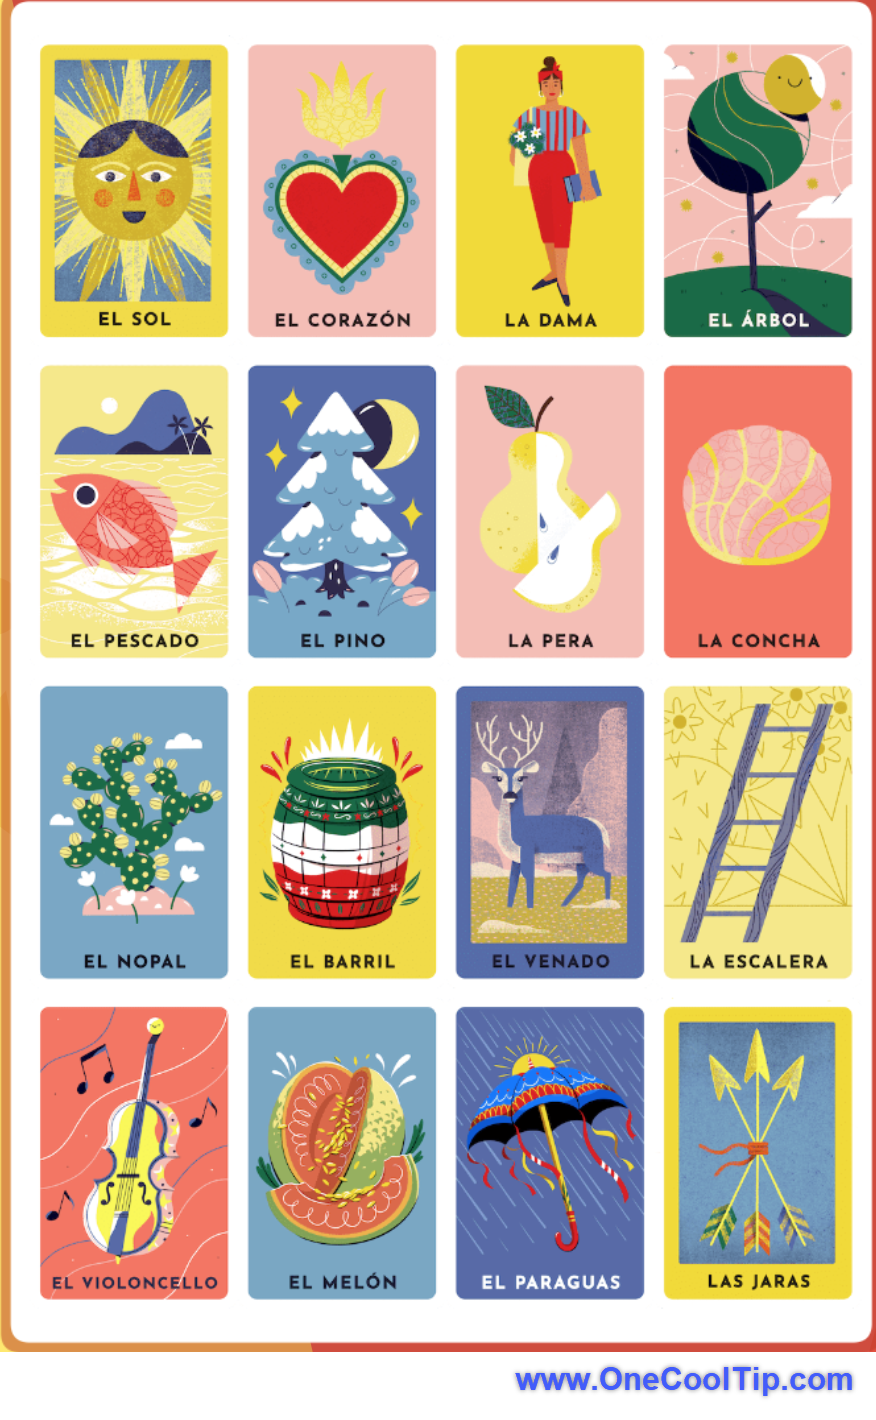
Friday, November 10, 2023
How to Play Google's Interactive Loteria Game
Thursday, November 9, 2023
Drive Safer with the New Waze Crash History Feature
- Keep your Waze app updated to the latest version to access the Crash History feature.
- Enable Crash History Alerts: Navigate to Settings > Alerts & Reports > Reports > Enable "Alert while driving"
- While driving, Waze will display alerts for roads with a history of crashes.
![]() |
fig. 1 - Waze Crash History Warning |
A few notes:
- Alerts may not appear for roads that you drive on frequently.
- If your route has multiple roads with a history of crashes, Waze only alerts you of the most critical ones.
- One alert may appear for multiple affected roads in the same area.
#Google @Google #Waze #CrashHistory #DrivingSafety #RoadAwareness #InformedDriving #Navigation #TechTips #OneCoolTip @OneCoolTip
Wednesday, November 8, 2023
Master the New Bing Chat Excel Export Feature
- Go to www.Bing.com
- Select Copilot from the menu.
- Create a prompt for the information you want to see in a table.
- For example, "Create a table of consumer inflation in the US from 2000 to 2020."
- Select Enter
- Copilot provides the answer.
- Select ‘Edit in Excel’ icon.
![]() |
fig. 1 - Bing Copilot Creates Table - Select Edit in Excel |
- Your data will open in Excel
- You need to have Microsoft Excel installed.
![]() |
fig. 2 - Bing - Table Export to Excel |
READ MORE
Tuesday, November 7, 2023
How to Use Windows 11 Snipping Tool to Convert Pictures to Text with Ease
- Click on the Start button, type ‘Snipping Tool’ in the search bar, and select the app from the results.
- Click on ‘New’ and select the area of the screen you want to capture.
- After capturing the snip, click on the ‘Text Actions’ button. This will convert the image in the snip to text.
![]() |
fig. 1 - Snipping Tool Text Options |
- You can now copy the text to your clipboard or edit it directly within the Snipping Tool.
- Right Mouse click for copy options.
![]() |
fig. 2 - Snipping Tool Option Selections |
![]() |
fig. 3 - Windows 11 Snipping Tool - Picture to Text |
Monday, November 6, 2023
Boost Your Productivity with Microsoft Excel's Paste as Picture
- Select the cells you want to copy.
![]() |
fig. 1 - Select Table to Copy |
- Go to the Home tab, click on the Copy dropdown, and select Copy as Picture.
- In the dialog box, choose “As shown on screen” and “Picture”, then click OK.
![]() |
fig. 2 - Microsoft Excel Copy as Picture |
- Go to the location where you want to paste the picture and press Ctrl+V.
- Select the cells you want to copy.
- Copy the cells (Ctrl+C).
- Go to the Home tab, click on the Paste dropdown, and select Linked Picture.
![]() |
fig. 3 - Microsoft Excel - Paste as Linked Picture |
- Let’s say you have a cell A1 with the value 10.
- If you use Paste as Picture, you’ll get a picture of the cell displaying 10.
- If you change the value in A1 to 20, the picture remains the same.
- But if you use Paste as Linked Picture, the picture will update to display 20.
Sunday, November 5, 2023
How to Use Layers in Microsoft Paint
Have you ever wanted to experiment with layers without having to navigate the intricacies of professional software like Photoshop?
Here's a Cool Tip. Check out the new layers feature in Microsoft Paint for Windows 11.
Microsoft has recently introduced a layers feature in its Paint application for Windows 11.
This feature, typically found in more complex software like Photoshop and Gimp, allows users to stack multiple images, text, and graphics on top of each other, which can then be manipulated individually.
Here's how to do it.
- Open Paint on Windows 11.
- Click the Layers button in the command bar.
![]() |
fig. 1 - Microsoft Paint Layers |
- Click the Plus (+) button (Ctrl + Shift + N) to create a new layer.
- Insert an image or create a shape with the tools available in Paint.
- Drag the layers to change their order and bring a layer forward or backward.
- Right-click the layer and choose the “Delete layer” option to remove it from the file.
- Right-click the layer from the right pane and choose the “Duplicate layer” to create another instance of the same element.
- Right-click the layer and select the “Hide layer” to work on another layer.
- Right-click the layer and choose the “Merge down” option to combine the layer with the layer immediately below it.
![]() |
fig. 2 - Microsoft Windows 11 Paint Options |
- Each layer can have its own paint object(s).
- For example, in this example, each layer has its own object: background, Person and Text.
![]() |
fig. 3 - Microsoft Paint - Each Layer Has Its Own Object |
- Click the Save button.
READ MORE
- How to Enable Dark Mode in Microsoft Paint
- How to Master Snap Layouts in Windows 11
- How to Adjust Windows 11 Sound Volume with This Cool Tip
#Microsoft @Microsoft #Windows @Microsoft #technology #tech #innovation #technews #gadgets #Windows11 #MicrosoftPaint #layers #digitalart #TechTips #OneCoolTip @OneCoolTip
Saturday, November 4, 2023
New iOS 17 Feature Makes iMessage Apps More Customizable Than Ever
- Open the iMessage app and start any conversation.
- Tap the "+" button next to the text input field.
- Swipe up to see all of your iMessage apps.
- Tap and hold on the app you want to move, and then drag it to the desired location.
- Release your finger to drop the app in its new location.
![]() |
fig. 1 - Rearrange iMessage Apps |
Friday, November 3, 2023
Visit the British Museum from the Comfort of Your Own Home
- Go to the British Museum Virtual Tour: https://g.co/arts/MsDFrrfLGngeXu3f7
- Use the mouse or arrows to move around the gallery
- Or select one of the items from the bottom row of the screen
- Click on objects to learn more about them
![]() |
fig. 1 - Bust of Ramesses - British Museum |
- The Rosetta Stone in the Egyptian Sculpture Gallery
- The Parthenon Sculptures in the Greek and Roman Galleries
- The Assyrian Lion Hunt Reliefs in the Assyrian Northwest Palace Gallery
- The Lewis Chessmen in the Room of Enlightenment Gallery
- The Mildenhall Treasure in the Early Medieval Gallery
- The Sutton Hoo Ship Burial in the Early Medieval Gallery
- The Lindow Man in the Britain in the Roman World Gallery
- The Staffordshire Hoard in the Anglo-Saxon and Viking Gallery
- The Hoa Hakananai'a in the Oceania Gallery
- The Benin Bronzes in the Africa Gallery
- The Chinese Jade in the China Gallery
- The Japanese Prints in the Japan Gallery
- You can also explore the museum's extensive Prints and Drawings collection, which includes works by Old Masters such as DĂ¼rer and Michelangelo, as well as new and exciting contemporary pieces.
Thursday, November 2, 2023
How to Move the Address Bar in Chrome for iPhone
- Open Chrome on your iPhone.
- Long-press on the address bar.
- Tap "Move address bar to bottom."
- To move the address bar back to the top of the screen, follow the same steps, but tap "Move address bar to top" instead.
![]() |
fig. 1 - Move Chrome Address Bar on iPhone |
- Open the Chrome settings app.
- Tap "Address bar."
- Under "Position," tap "Bottom."
- You can also move the address bar to the top of the screen from this menu.
![]() |
fig. 2 - Chrome Address Bar Setting iPhone |
Wednesday, November 1, 2023
How to Rename Files on Windows and Macs
- Navigate to the file you want to rename.
- Click on the file to select it.
- Press the F2 key.
- Type the new name for your file.
- Press Enter to save the new name.
![]() |
fig. 1 - Rename Windows with File F2 |
- Navigate to the file you want to rename.
- Click on the file to select it.
- Press the Return key.
- Type the new name for your file.
- Press Enter to save the new name.